Skip to content

The craft of gilding

A gilder covers the wood of frames, mirrors and furniture with gold. Before the gold leaf, the object receives some twenty layers of natural materials.

Two techniques

Water gilding

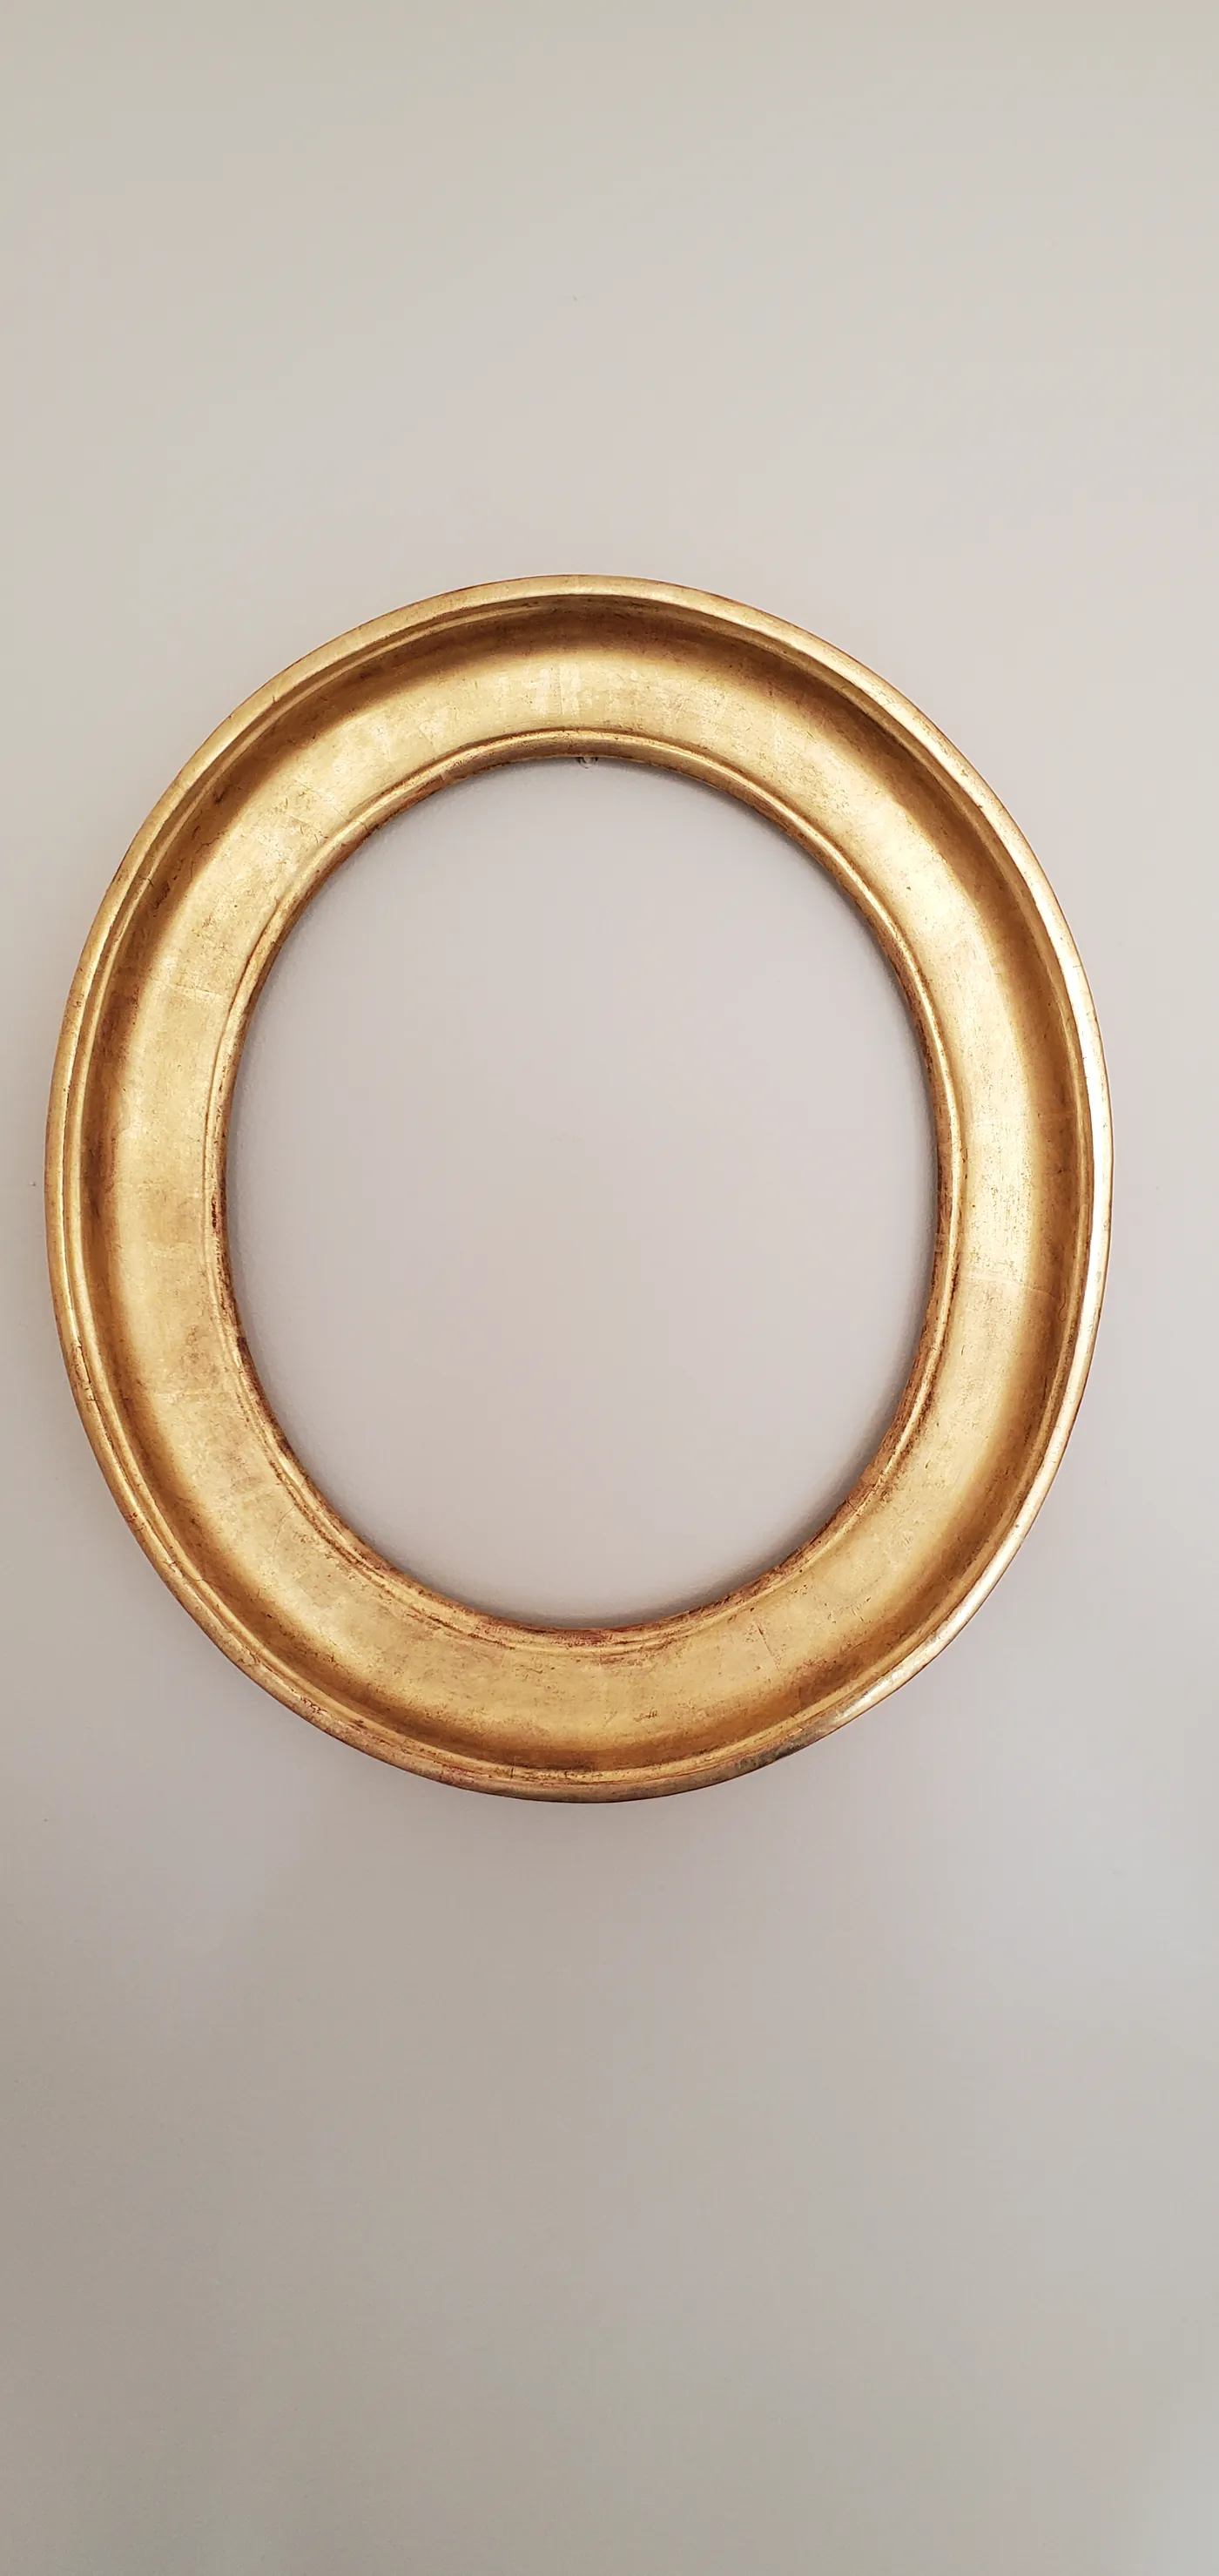
This is the traditional technique I use most, for restoration as well as creation. The gold leaf is laid on moistened clay, the bole. The gold can then be burnished with an agate stone to make some areas very bright, in contrast with the areas left matte.

The red bole showing through in places is the signature of water gilding.
Oil gilding

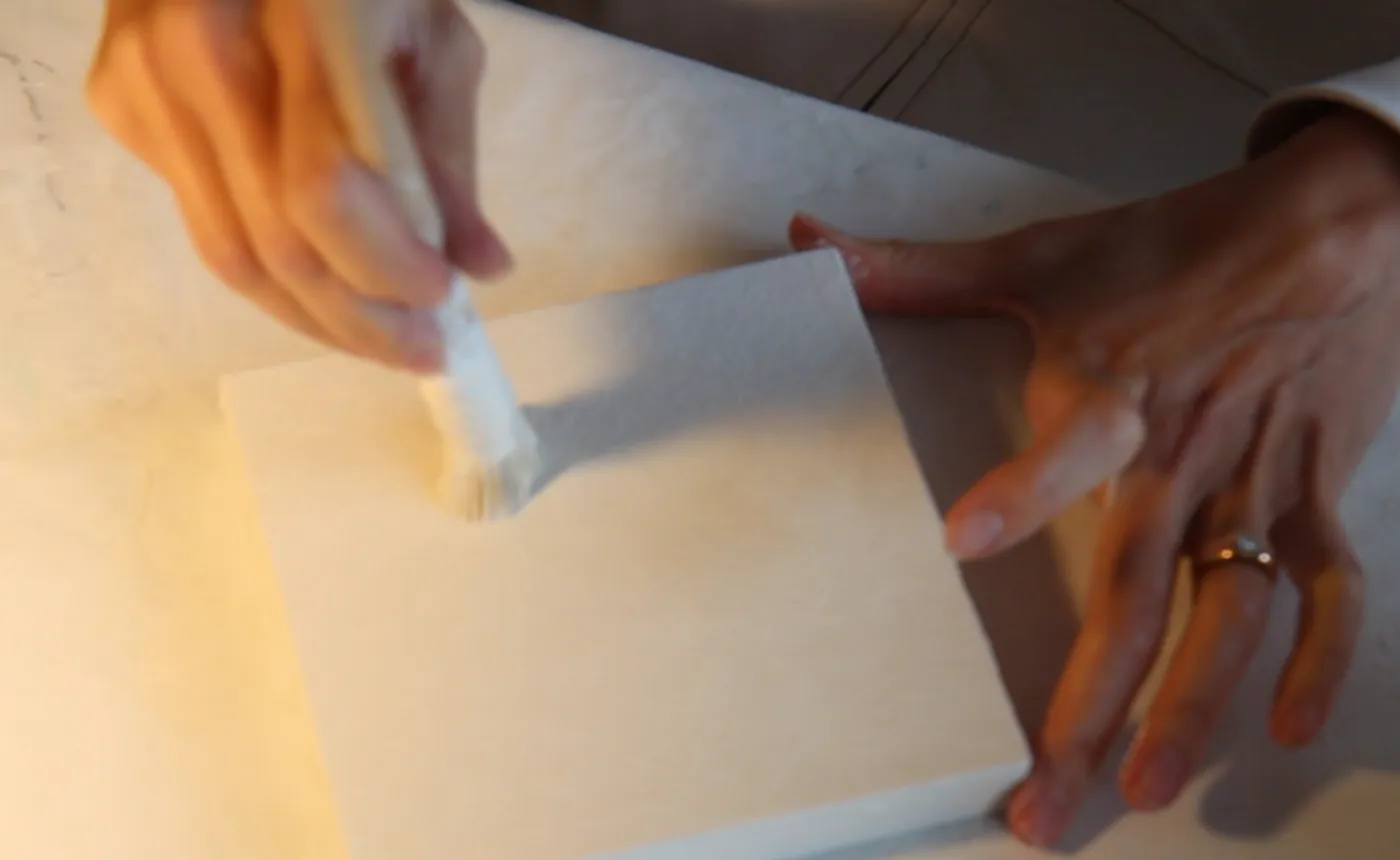
The leaf is laid on an oil-based size. Widely used from the 19th century onwards, this technique gives more coverage and is often used on ornamented parts. I use it when the object calls for it, that is, when the original craftsman chose it.

Natural materials

Gilders of the past used only natural products. I work the same way, without chemicals.

  • Rabbit-skin glue
  • Meudon chalk
  • Yellow ochre
  • Red clay bole
  • 22-carat gold leaf
  • Agate stone
  • Nepalese paper
  • Indian ink

The ten steps of a gilded panel

These are the steps of one of my creations. The small coloured bar shows the layer added at each step.

  1. 01

    Sizing

    Rabbit-skin glue, applied warm, soaks into the wood and prepares it to hold the following layers.

    Sizing
  2. 02

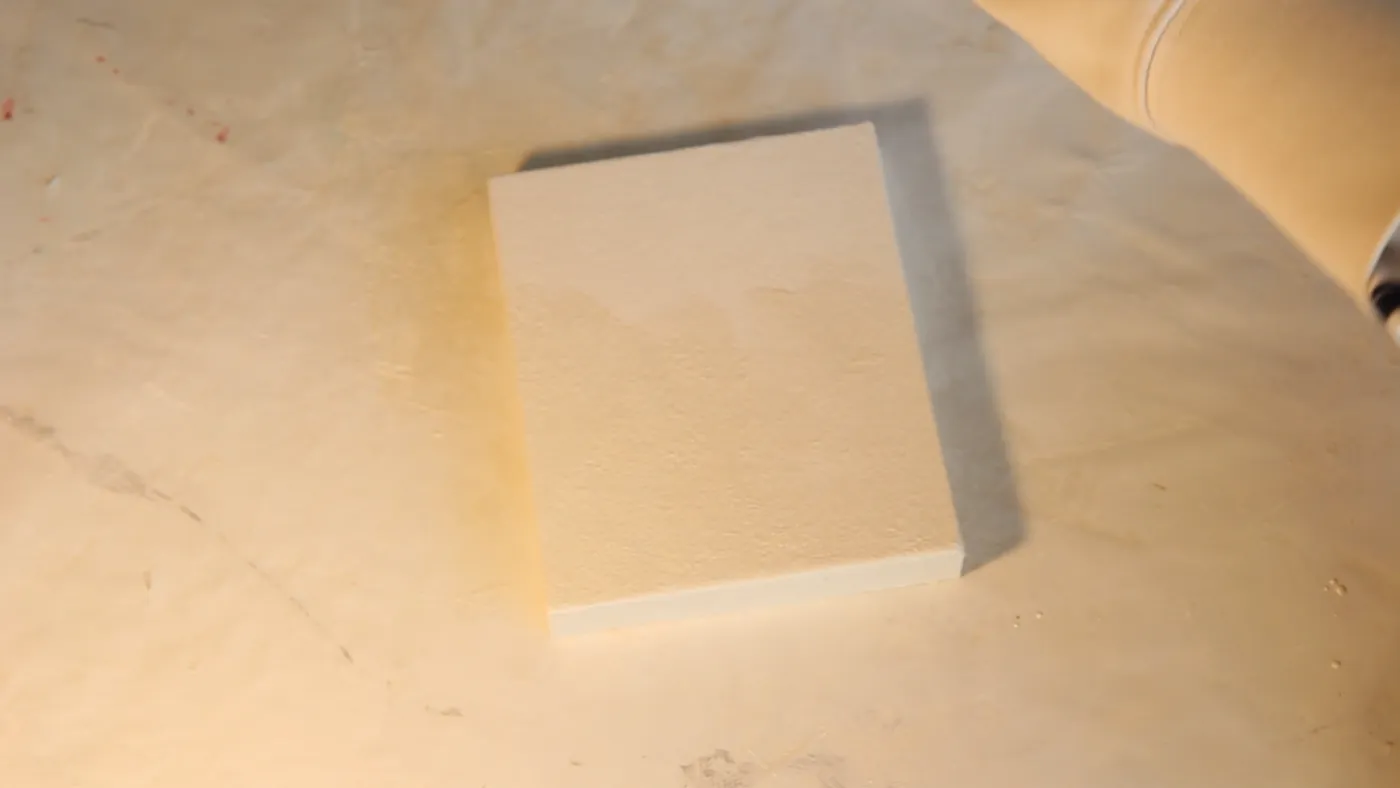
    Twelve coats of gesso

    Meudon chalk mixed with rabbit-skin glue is applied coat after coat, building up a thick white surface.

    On video: applying the gesso (43 seconds, no sound).
  3. 03

    Smoothing

    I sand the gesso dry, then with water, until the surface is perfectly smooth.

    Smoothing
  4. 04

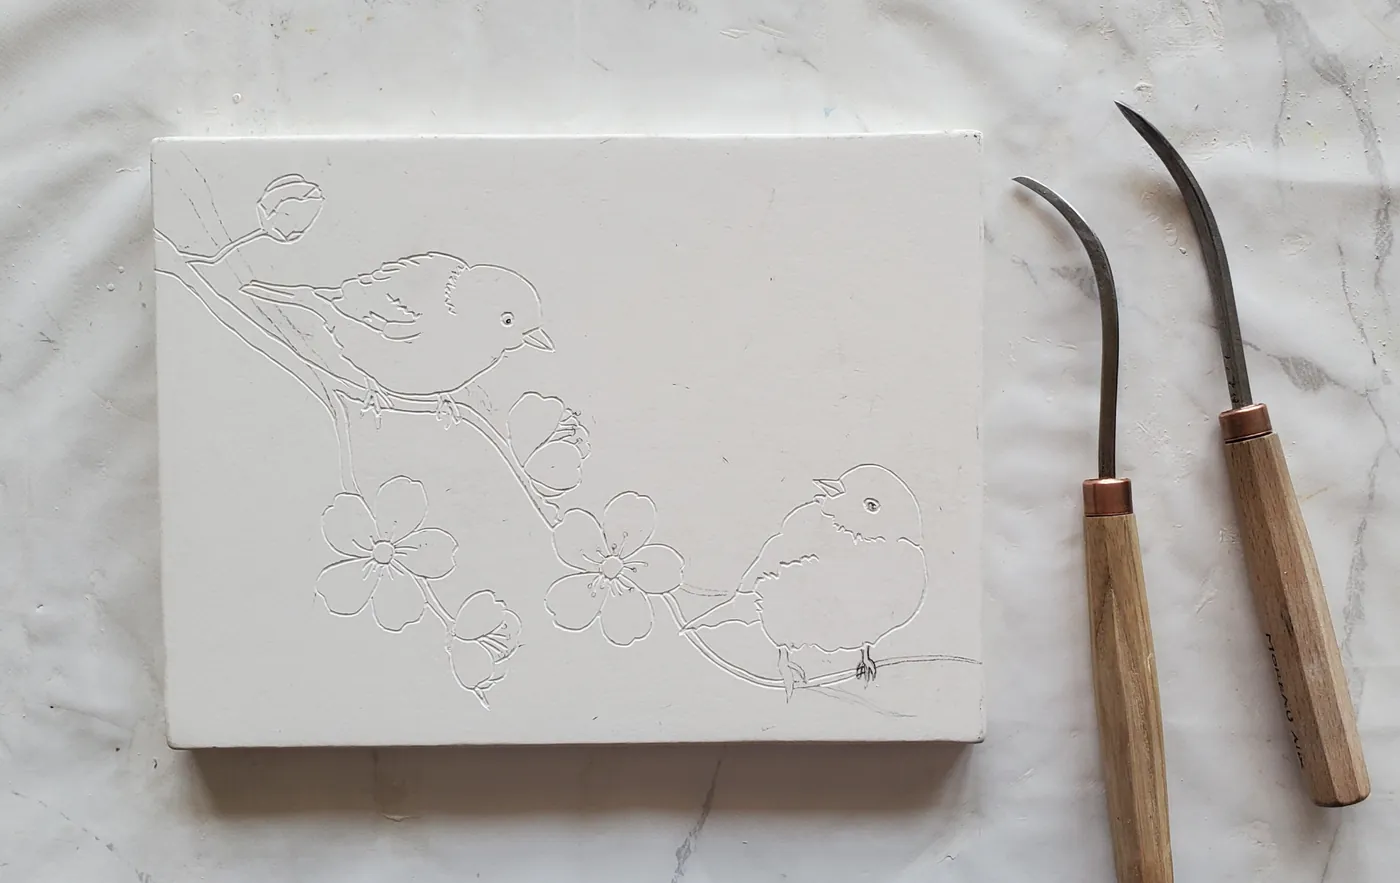
    Drawing

    The design is transferred onto the gesso. It will guide the carving, then the cutting of the paper.

    Drawing
  5. 05

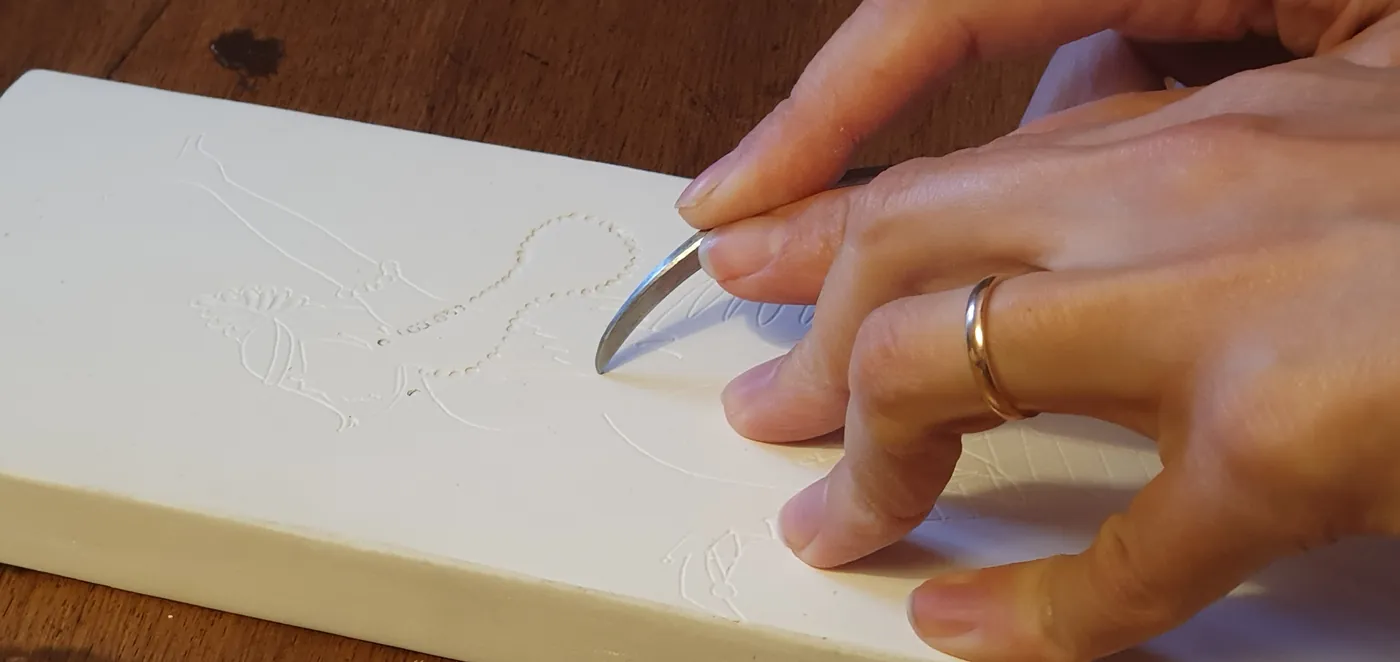
    Carving

    With repairing irons, I cut lines into the gesso: feathers, scales, veins, grids. This relief will catch the light once gilded.

    Carving
  6. 06

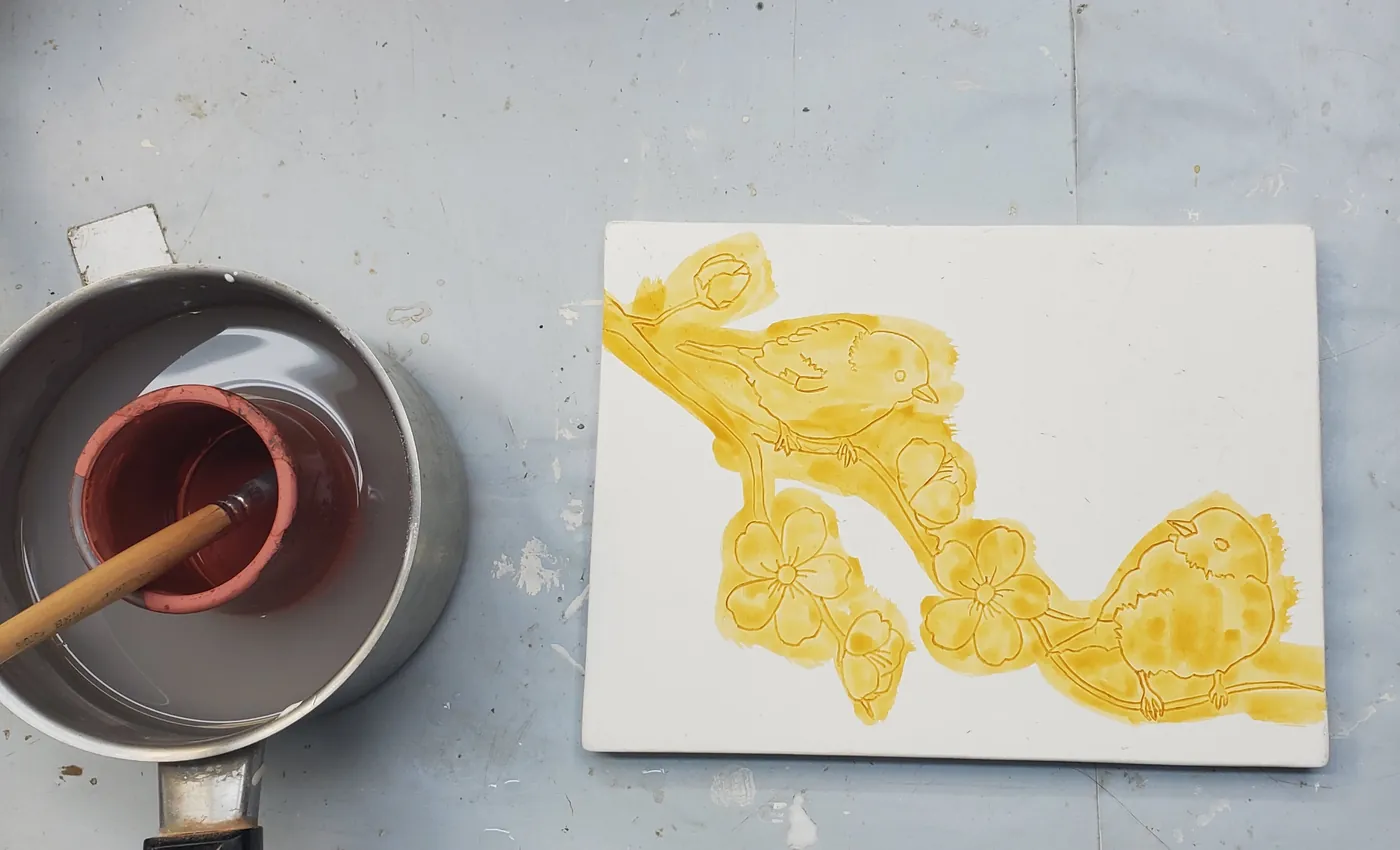
    Yellow size

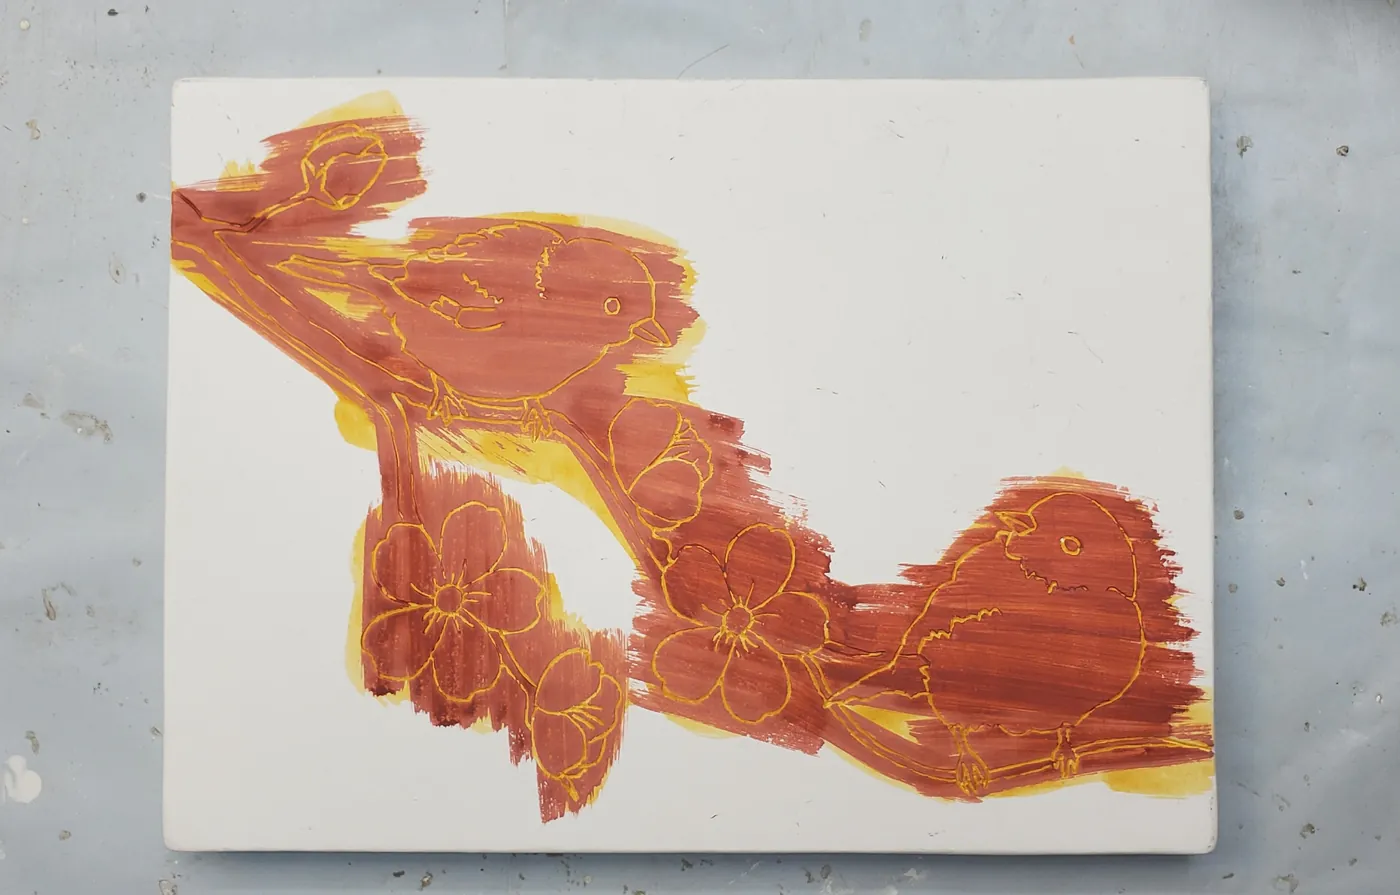
    A coat based on yellow ochre evens out the surface. In the carved hollows, it stands in for the gold where the leaf cannot reach.

    Yellow size
  7. 07

    Three coats of red bole

    The bole, a fine red clay, gives the gold its warmth and makes burnishing possible.

    Three coats of red bole
  8. 08

    Laying the gold leaf

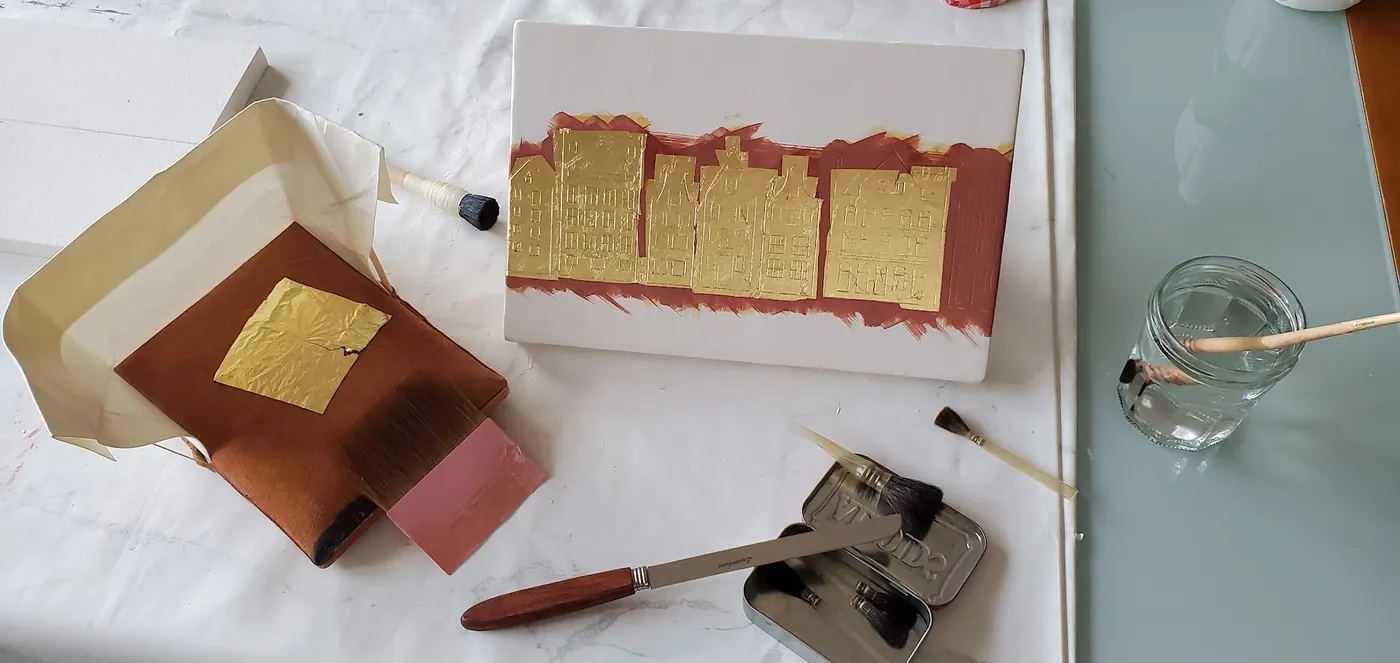
    I wet the bole, then lay the 22-carat gold leaf, so thin it flies away at the slightest breath.

    Laying the gold leaf
  9. 09

    Burnishing

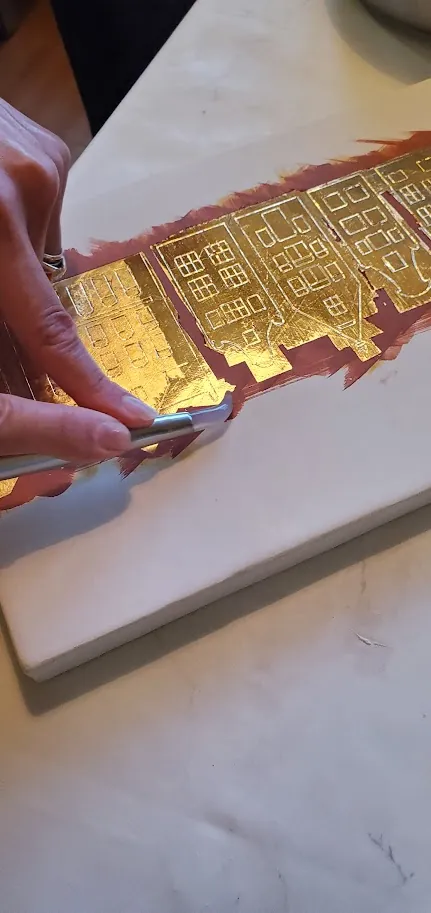
    I rub the gold with an agate stone to make it shine. The unburnished areas stay matte: the contrast draws the design.

    Burnishing
  10. 10

    Nepalese paper

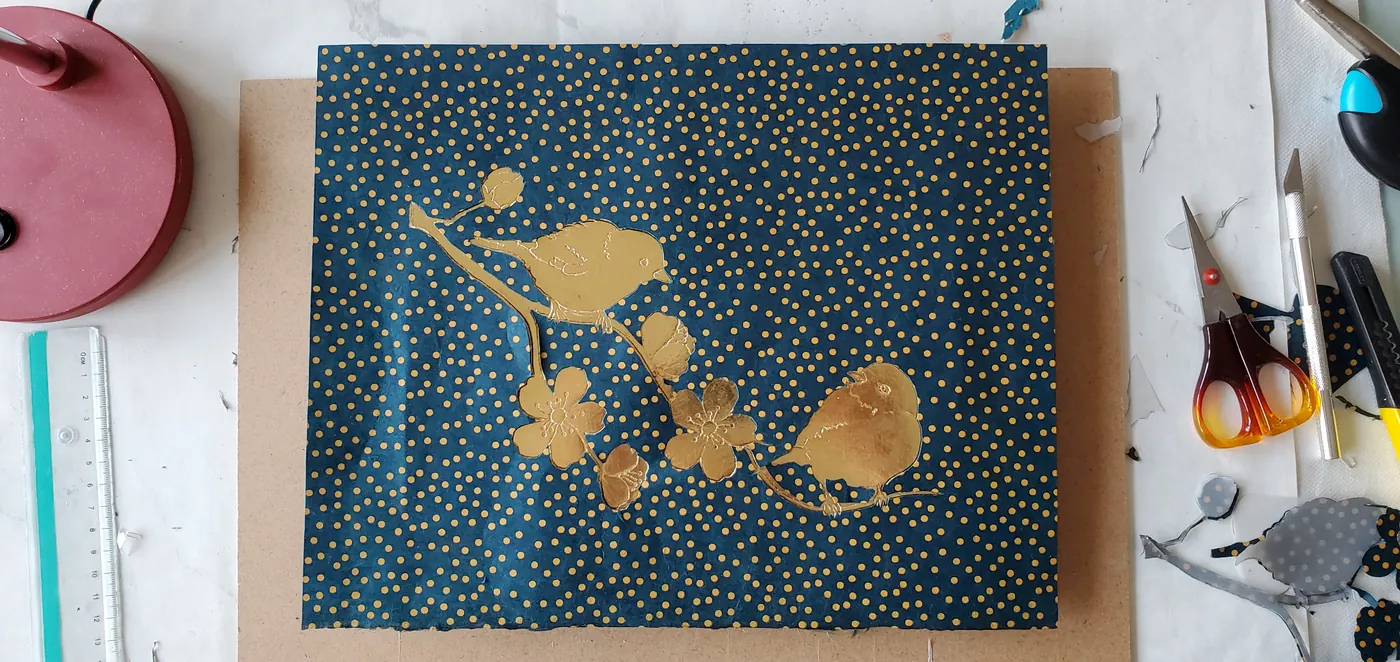
    I cut and glue the Nepalese paper, or apply Indian ink, around the gilded design.

    Nepalese paper
Patina on the gold of a restored oval mirror

Patina: marrying the golds

In restoration, once the leaf is laid, I apply a patina. It ages the new gold so that it blends with the old gold around it: French gilders call this “marrying the golds”.

The new gold takes on the natural wear and age of the object, and the repair disappears.

Caring for a gilded object

Gold is a powerful reflector of light. Place your piece facing a light source to enjoy its full brilliance.

Gold and water do not get along: a small soft duster is all you need. Never use a damp cloth or household cleaners.